Tags
Before and after, Derrick Holdenried, Design, DIY, How to, Interior design, Lori Holdenried, Mid Century Dresser, Mid Century Modern, Mid Century Modern furniture, Painted furniture, Port Moody, Port Moody Design, Recycle, Upcycle, VicArt, Vintage
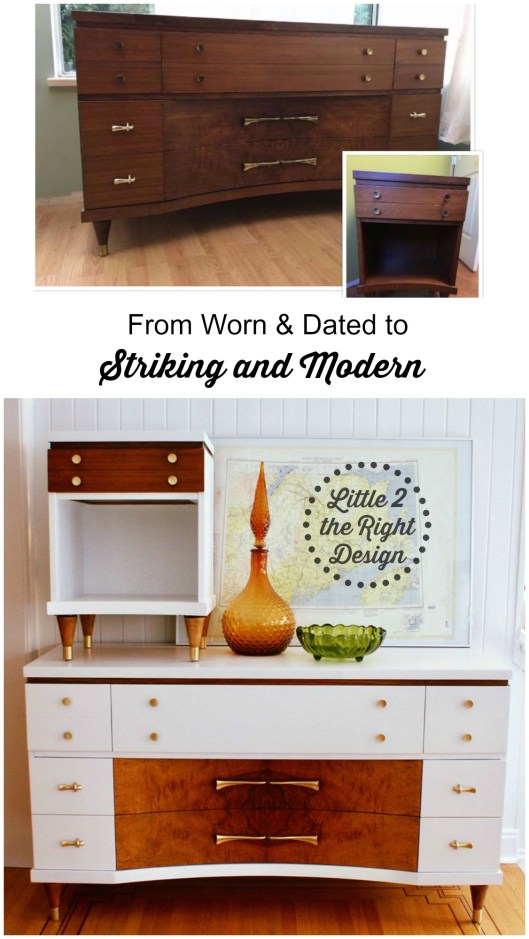
I am so excited to share my transformation of this damaged, dark, discarded set of mid-century modern dressers! When I picked the dressers up they were missing their legs and also had some of the integrated wood handles removed.
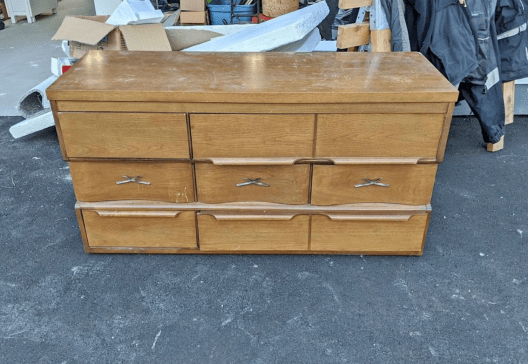
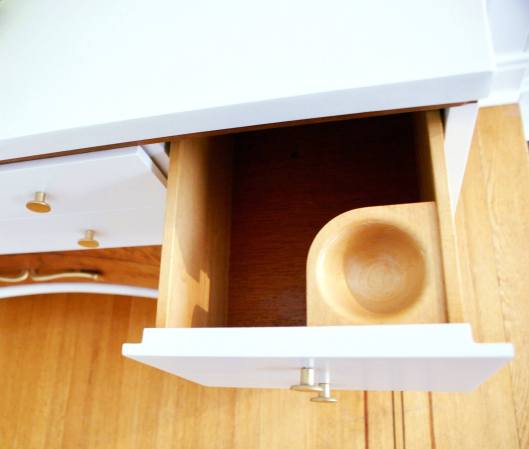
The first step to their restoration was to replace the dresser’s missing legs. After inspection, I discovered the dresser’s bases were also damaged by the previous owner placing something heavy on them for a long period of time which caused them to buckle under the pressure of the weight. So in stepped my handy husband Derrick (who is an Aircraft mechanic) reinforced the damaged bases of the dressers with 3/4″ plywood, to make them structurally sound again, and install the new legs to the dressers. We also had to remove some of the integrated wood handles to balance the appearance of the dresser because of the missing handle. This made me sad but it was necessary. I moved the drawers which had no handles to the bottom row of the dressers with plans to add new simple pulls to them after refinishing the drawer fronts


Now the dressers were standing tall again and were stronger than ever.

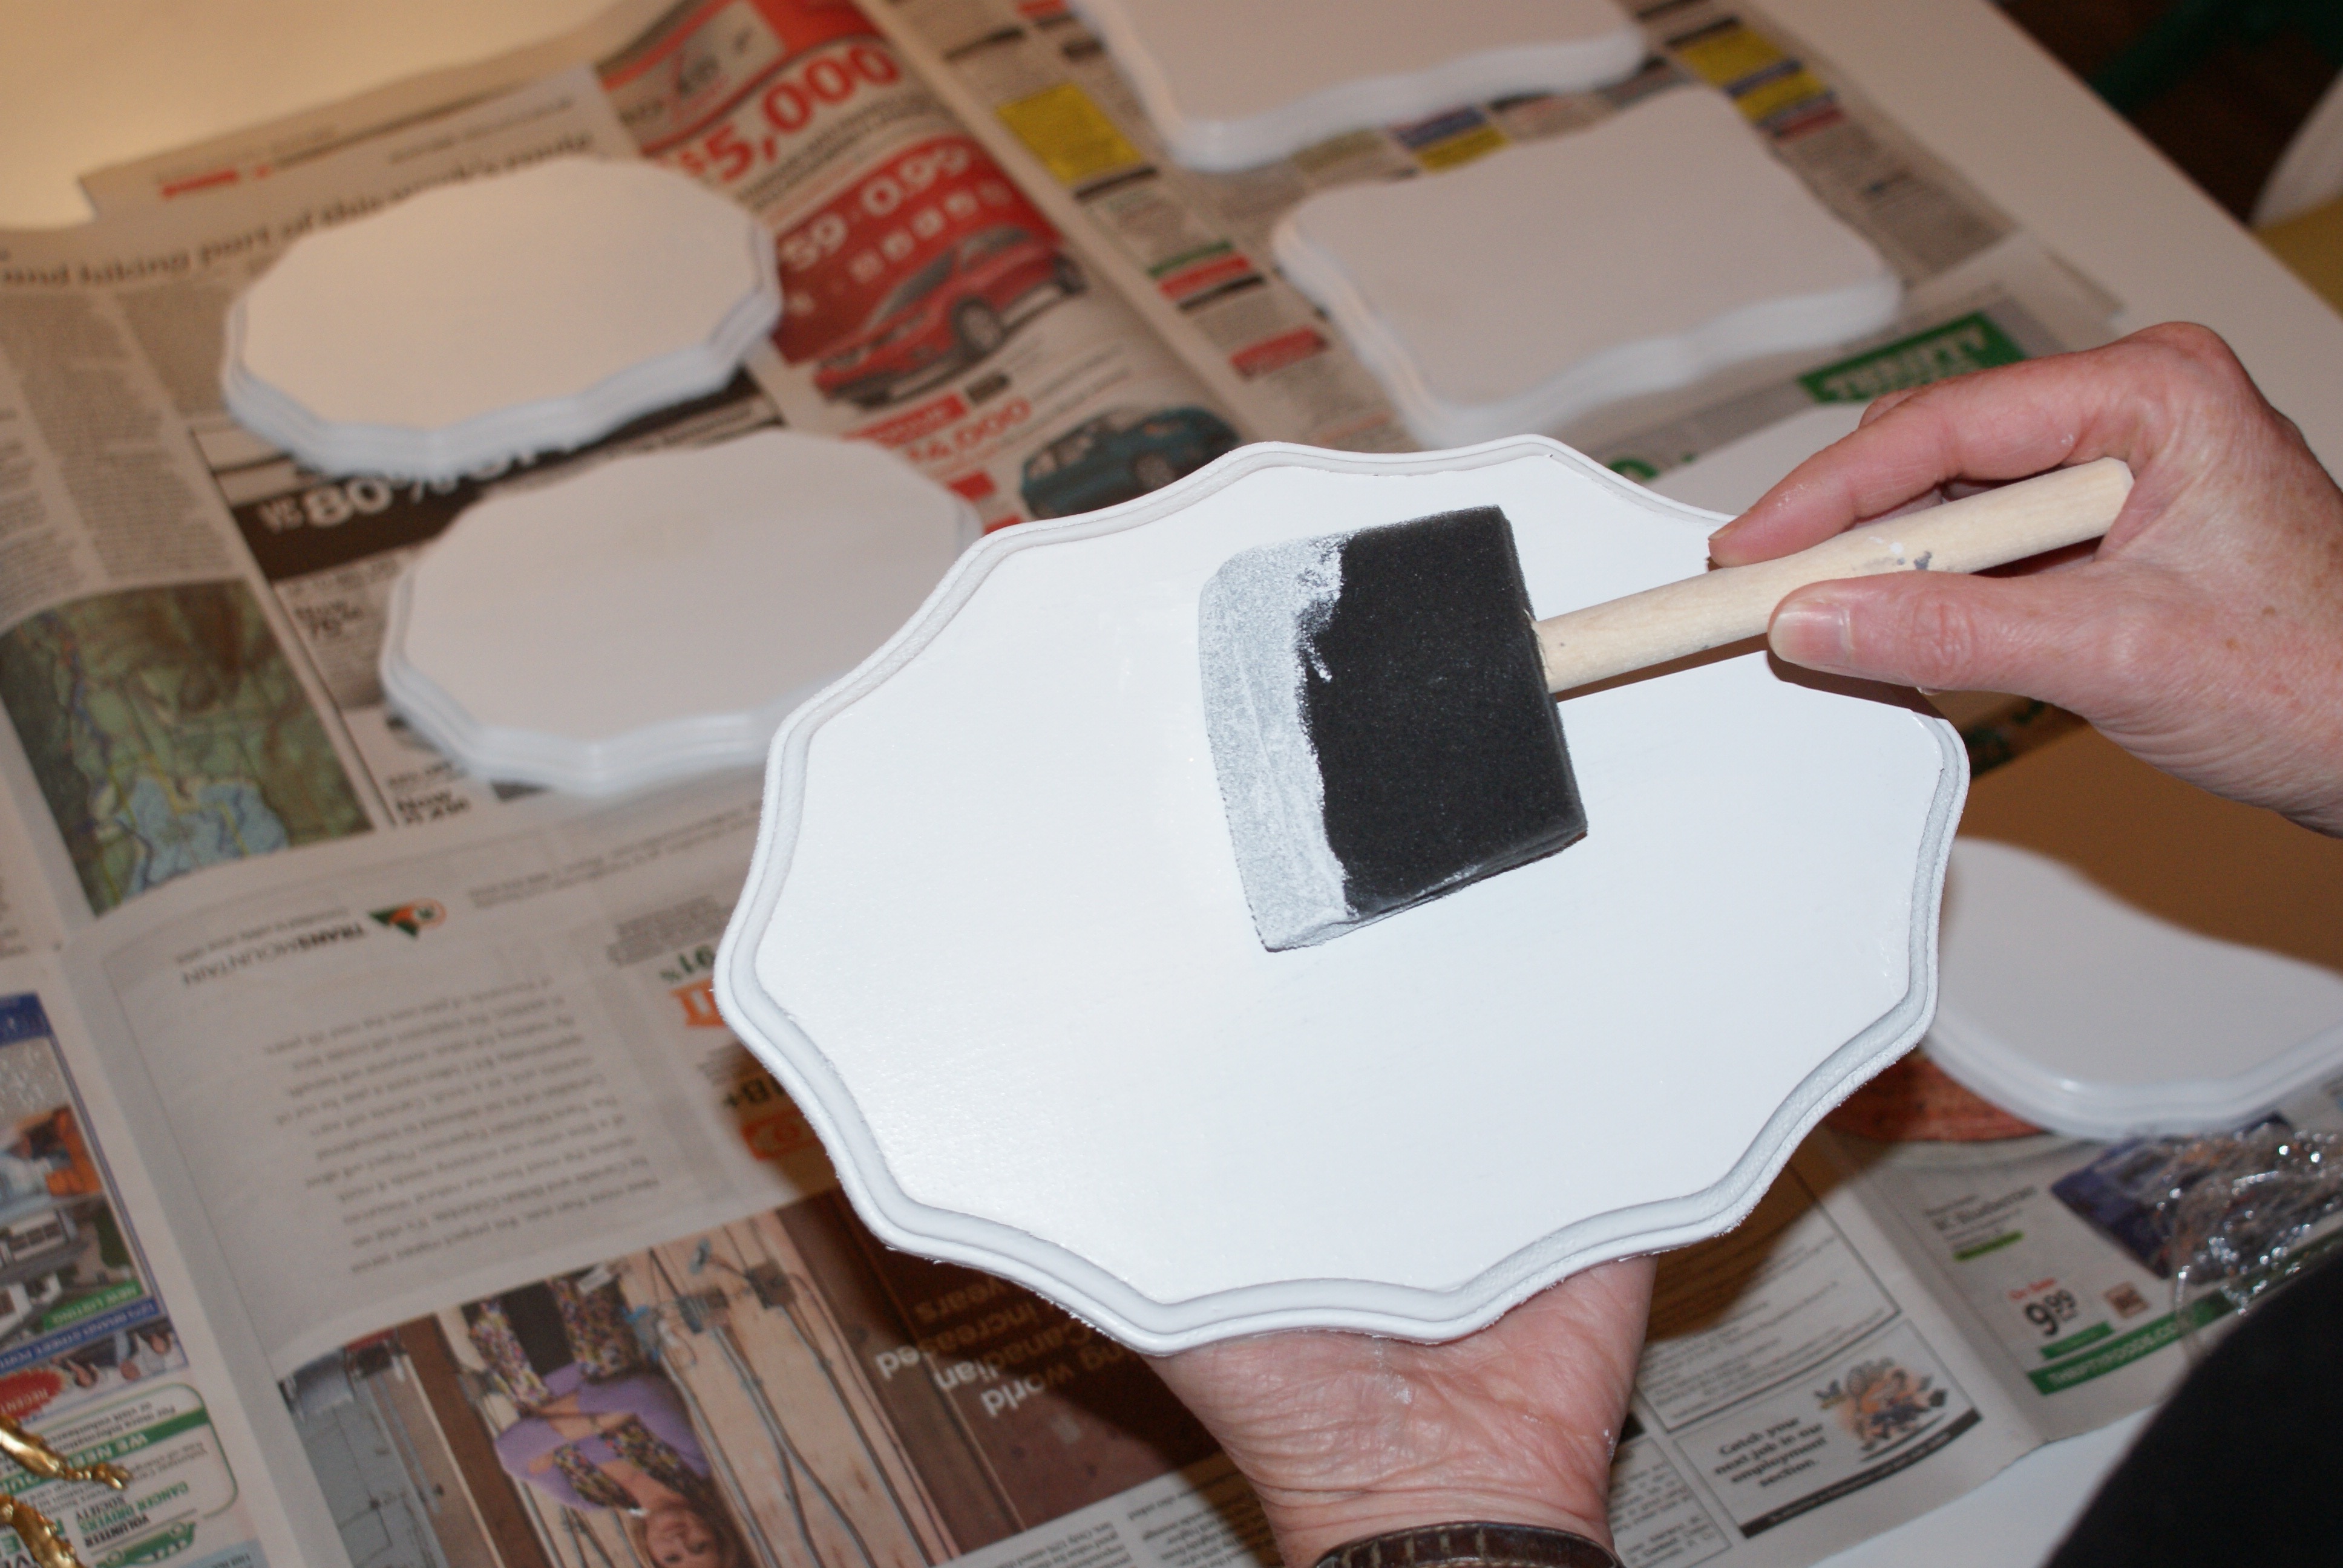
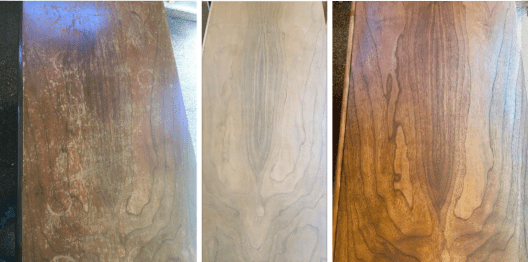
Now I got down to the business of filling the screw holes on the bottom sides of the dressers from installing the plywood to reinforce the base, sanding the cases, applying 2 coats of high adhesive primer, fine sanding, then applying 3 coats of kitchen cabinet grade Benjamin Moore paint in crisp white. I also worked on stripping off the tired worn finish off the drawer fronts and tops. After stripping they received a wipe down with mineral spirits and left to dry overnight. Once they dried they were sanded thoroughly and very carefully first with 120 grit sandpaper then 180 grit for the finish.
After applying the first coat of oil to the tops of the dressers they started to shine.
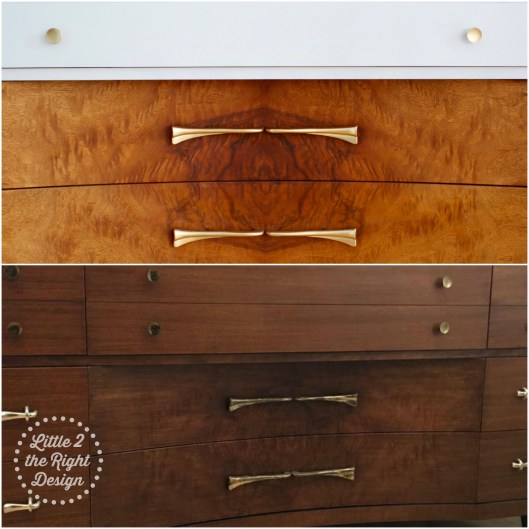
 When I picked up the dressers I saw the VicArt furniture maker stamp on the inside of the drawer and felt I had to try to save the dressers. I have refinished the same maker’s furniture in the past and knew there was some amazing wood to be found.

Wow, I was so thrilled to find amazing walnut wood grain under all that dark-dated finish on both the tops and the drawer fronts!

I am so pleased with the final outcome and how the crisp white paint lightens and brightens them allowing the amazing lines and wood grain of the drawer fronts to be the heroes now.


Stunning – and I am so thrilled I save a couple of pieces of furniture from going to the landfill with some elbow grease and know-how!
I bet you will never look at disregarded furniture the same again.